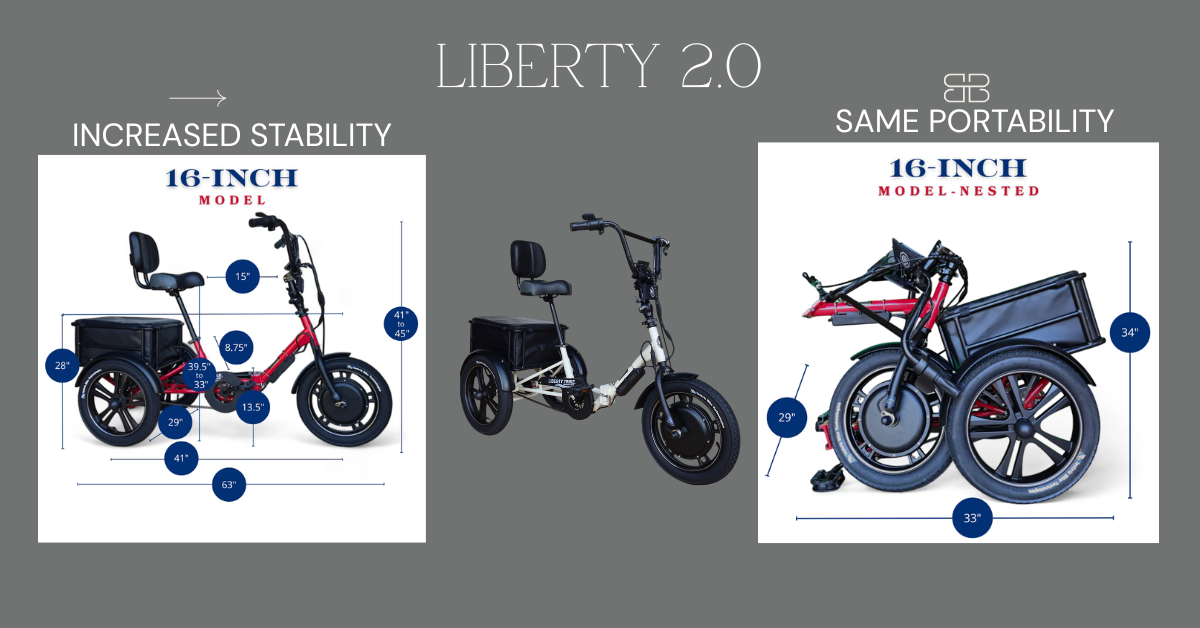
Is your Liberty Trike's LCD malfunctioning or refusing to power on? Don't worry! This comprehensive tutorial will guide you through replacing the LCD on your Liberty Trike. We'll also demonstrate how to reconnect all the components and ensure your new LCD works perfectly. Let's get started!
Start by disconnecting the zip ties along the LCD cable—one at the top and one at the bottom. Be careful not to damage the cables. Next, untangle the wiring loom connected to the LCD and set it aside for later. Locate the zip tie that connects the power button and brake line and clip it.
To remove the old LCD:
- Disconnect the green connector to access the screws on the back of the LCD.
- Use a 2 1/2 millimeter Allen key to turn the screws counterclockwise and remove them.
- Once the screws are removed, pull down the tabs and gently remove the old LCD.
- Don't worry; they are designed to be removed without breaking.
Now, let's detach the power switch. Loosen the two-millimeter Allen screw located at the bottom of the power switch. Once the screw is loose, rotate the power switch and lift the bracket to disconnect it from the handlebar. Slide the power switch off carefully, ensuring it separates completely.
It's time to install the new LCD. Start by placing rubber bushings on the handlebar to ensure a snug fit. Attach the LCD brackets from the bottom, aligning them with the rubber bushings. Push the bushings from the sides to ensure a secure fit. Once the brackets are in place, re-screw the back of the LCD using the 2 1/2 millimeter Allen key.
Now it's time to reconnect and secure the components. Follow the LCD cable connection down and align the arrows to reconnect without damaging the connection. Tighten the screws to secure the connection properly. Next, loosen the screw at the bottom of the power switch and reconnect it to the handlebar. Gradually tighten the screw from the underside, ensuring the power switch is correctly positioned. Use zip ties to neatly secure the cables back to the frame and trim any excess length.
Finally, turn on your Liberty Trike's LCD and verify everything functions correctly. Ensure that all buttons, displays, and settings are working as intended.
Congratulations! You have successfully replaced the LCD on your Liberty Trike. Remember, if you encounter any difficulties during the process, it's always recommended to consult a professional bike mechanic for assistance. Enjoy your renewed Liberty Trike with its brand-new LCD!


